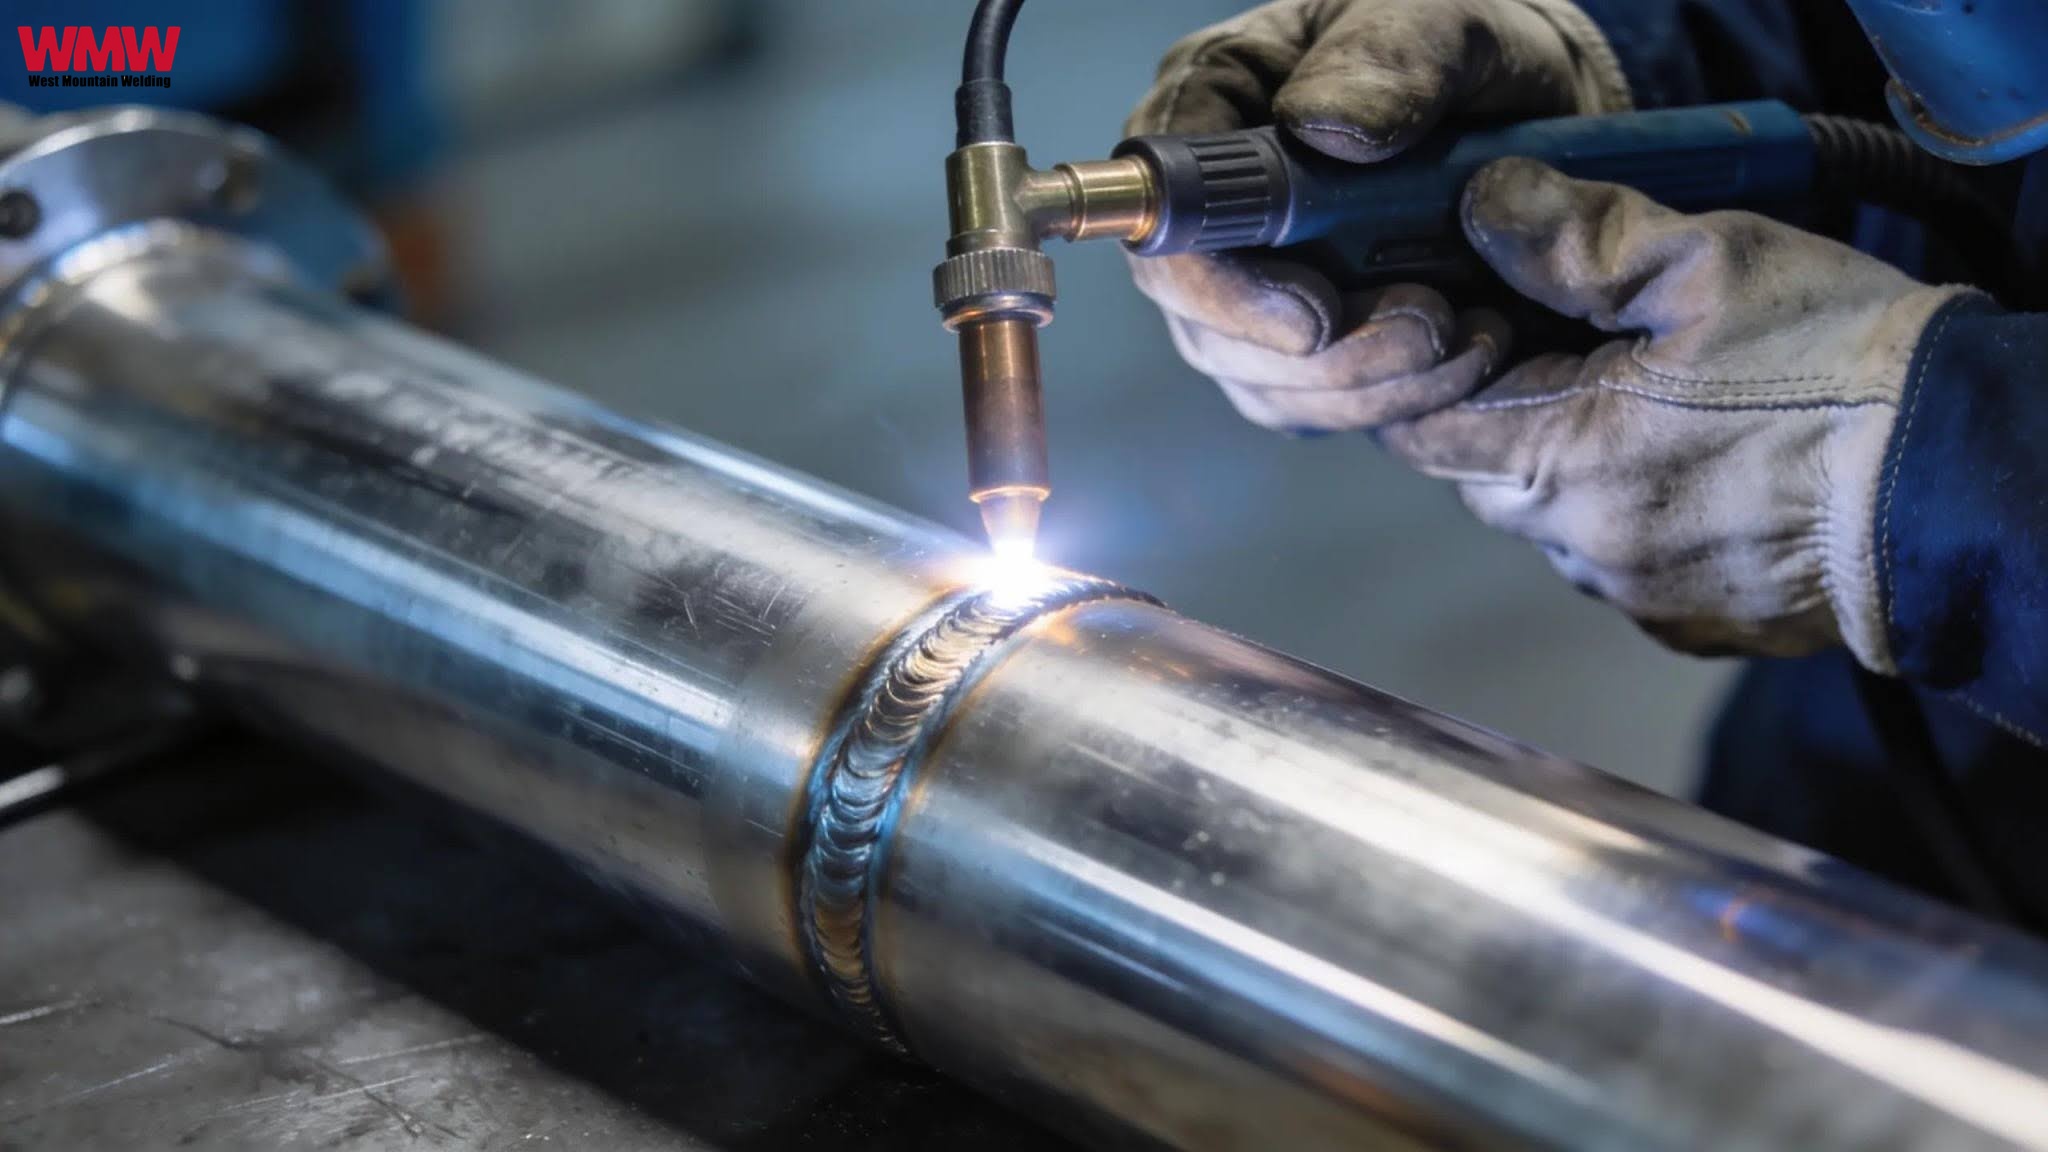
Stainless Steel TIG Welding Tips And Tricks for Cleaner Welds
Key Takeaways
Manage heat input aggressively. Stainless steel's low thermal conductivity makes it prone to distortion and sensitization. Shorter arc length, controlled travel speed, and foot pedal amperage control all help limit unnecessary heat input.
Dedicate your tooling. Wire brushes, grinding discs, and cleaning rags used on carbon steel should never touch stainless. Cross-contamination ruins welds and creates rust.
Shielding gas coverage is non-negotiable. Use 15–20 CFH of pure argon, shield against drafts, and back-purge pipework. Oxidation from inadequate shielding is one of the most common causes of failed stainless welds.
Clean before and after. Acetone wipe-down and a dedicated stainless wire brush before welding; mechanical, chemical, or passivation treatment after, depending on the application and spec requirements.
Match filler to base metal. Use ER308L for 304 stainless and ER316L for 316. The low-carbon designations reduce sensitization risk in service.
Stainless steel TIG welding is one of the most demanding skills in the trade. The material is unforgiving, and poor technique shows up immediately as discoloration, porosity, or warped joints that fail inspection. But when you dial in your process, TIG welding produces some of the cleanest, strongest, and most visually consistent welds possible on stainless steel.
This guide covers the practical tips and tricks that experienced welders use to get better results: from equipment selection and parameter setup to contamination control and post-weld finishing. If you're learning how to TIG weld stainless steel or looking to sharpen your shop's process, these fundamentals apply across applications.
Why Stainless Steel Behaves Differently in TIG Welding
Before diving into technique, it helps to understand what makes stainless steel a challenge. Stainless conducts heat roughly 40% less efficiently than mild steel, which causes it to build up heat quickly in a localized area. That heat concentration leads to warping, sensitization (carbide precipitation along grain boundaries), and discoloration if you're not actively managing it.
The chromium content that gives stainless steel its corrosion resistance also makes it sensitive to oxidation at elevated temperatures. Any lapse in shielding gas coverage during the weld, or immediately after, can create a heat tint or oxide layer that compromises both appearance and corrosion resistance. This is why shielding gas discipline and post-weld cleaning are non-negotiable parts of any stainless TIG welding process.
Essential Equipment for Clean Stainless Steel TIG Welds
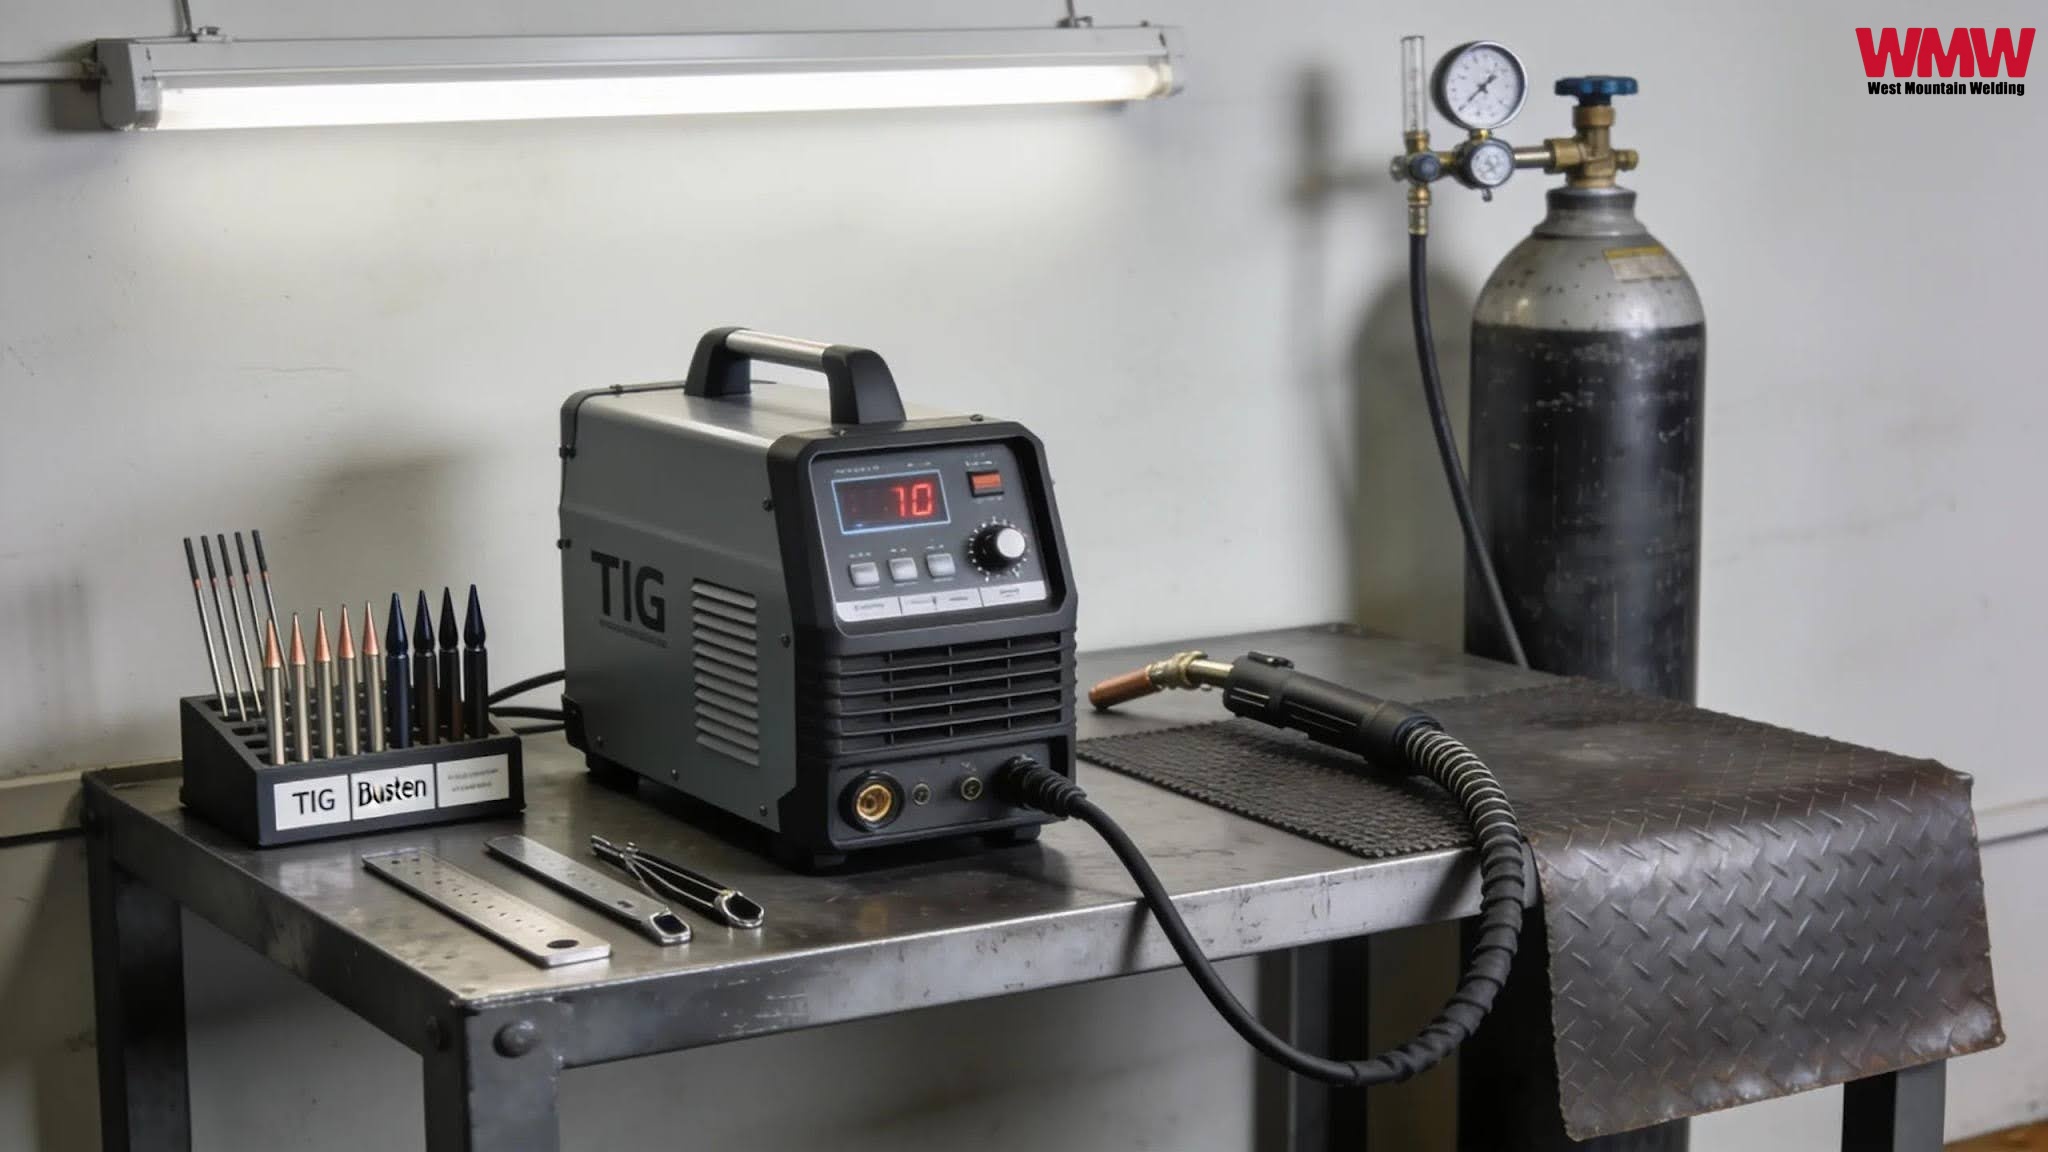
Getting good results starts with the right tools. Cutting corners on equipment makes the technique side of the equation harder than it needs to be.
TIG Welding Machine
Use a machine with precise, adjustable amperage control, ideally one with a foot pedal or torch-mounted amperage control. The ability to feather amperage in real time lets you respond to changes in joint fit-up and material thickness without stopping the weld. Inverter-based TIG machines are generally preferred for stainless work because of their arc stability and fast response.
Tungsten Electrode Selection
Tungsten choice matters more than many welders give it credit for. For stainless steel TIG welding on DC current (which is standard), the most commonly used options are:
2% Thoriated (Red): A long-standing industry standard with excellent arc stability and long electrode life. Still widely used in industrial settings, though some shops have moved toward alternatives due to thorium's radioactive content.
2% Ceriated (Gray): Performs comparably to thoriated in most DC applications, with good arc starts and low contamination risk. A solid all-around choice for stainless.
Lanthanated (Gold or Black): Increasingly popular due to consistent performance and suitability for both AC and DC. A strong modern alternative for shops welding stainless steel regularly.
Regardless of electrode type, proper preparation is critical. Grind the tungsten to a fine point with the grinding marks running lengthwise along the electrode, not across it. Cross-grinding creates micro-ridges that cause arc wander and contamination.
Shielding Gas
Pure argon is the standard shielding gas for stainless steel TIG welding, and in most cases, it's all you need. It provides clean arc characteristics, good puddle visibility, and effective atmospheric protection. Flow rate should be set between 15 and 20 CFH (cubic feet per hour). Going too low allows ambient air to contaminate the weld pool; going too high causes turbulence that actually draws in contamination rather than displacing it.
For pipe or tube work where the inside of the weld is exposed, back purging with argon is essential. Leaving the root side unshielded during a stainless weld produces oxidation and "sugaring", a rough, porous surface that's structurally compromised and nearly impossible to clean properly.
TIG Welding Settings for Stainless Steel
No parameter chart replaces hands-on adjustment, but starting ranges give you a baseline to refine from.
Amperage
For material up to 1/8 inch thick, a working range of 80 to 120 amps covers most applications. A useful rough rule: approximately 1 amp per thousandth of an inch of material thickness. Stainless steel requires slightly less heat input than carbon steel of the same thickness because it retains heat longer. If you're welding thinner gauge material, 16 gauge or thinner, you may be working well below 80 amps, and foot pedal control becomes especially important for avoiding burn-through.
Travel Speed and Arc Length
These two variables work together with amperage to control heat input. A consistent, moderately fast travel speed keeps the heat moving and reduces the risk of heat buildup and distortion. Arc length should be kept short, roughly equal to the diameter of the tungsten electrode. A longer arc increases voltage, spreads the arc cone, and reduces penetration quality while increasing the risk of atmospheric contamination at the edges of the shielding gas envelope.
Filler Metal
For most austenitic stainless steels (304, 316), ER308L or ER316L filler rod is appropriate. The "L" designation indicates low carbon content, which reduces sensitization risk, critical in applications with heat cycling or corrosive environments. Match filler composition to the base metal and verify specs against material certifications.
How to Prevent Contamination in Stainless TIG Welding
Contamination is the most common root cause of failed or substandard stainless welds. It typically enters the weld in one of three ways: from the base metal surface, from the filler rod, or from inadequate shielding gas coverage.
Pre-Weld Surface Preparation
Clean thoroughly before striking an arc. Even fingerprints introduce enough oil to cause porosity or discoloration. Wipe the joint and surrounding area with acetone or a dedicated stainless steel cleaner, then follow with a stainless-specific wire brush. Never use a carbon steel brush on stainless steel; particles embedded in the surface can cause rust to undermine corrosion resistance.
Keep your cleaning tools dedicated to stainless. A brush or disc that has touched carbon steel should never touch stainless—cross—contamination introduces iron particles that rust and compromise corrosion resistance.
Environmental Controls
Drafts disrupt the shielding gas envelope around the weld pool. In shop environments, position work away from open doors or use welding curtains. If welding in the field, shield the weld area from wind with a portable barrier. Even a light breeze can cause porosity and oxidation in stainless TIG work.
Filler Rod Handling
Keep filler rods clean and dry. Store them in their original tube or a clean container, and wipe them with acetone before use if they've been sitting out. Avoid touching the portion of the rod that will enter the arc zone; skin oils transfer contamination directly into the weld pool.
Post-Weld Cleaning Methods for Stainless Steel
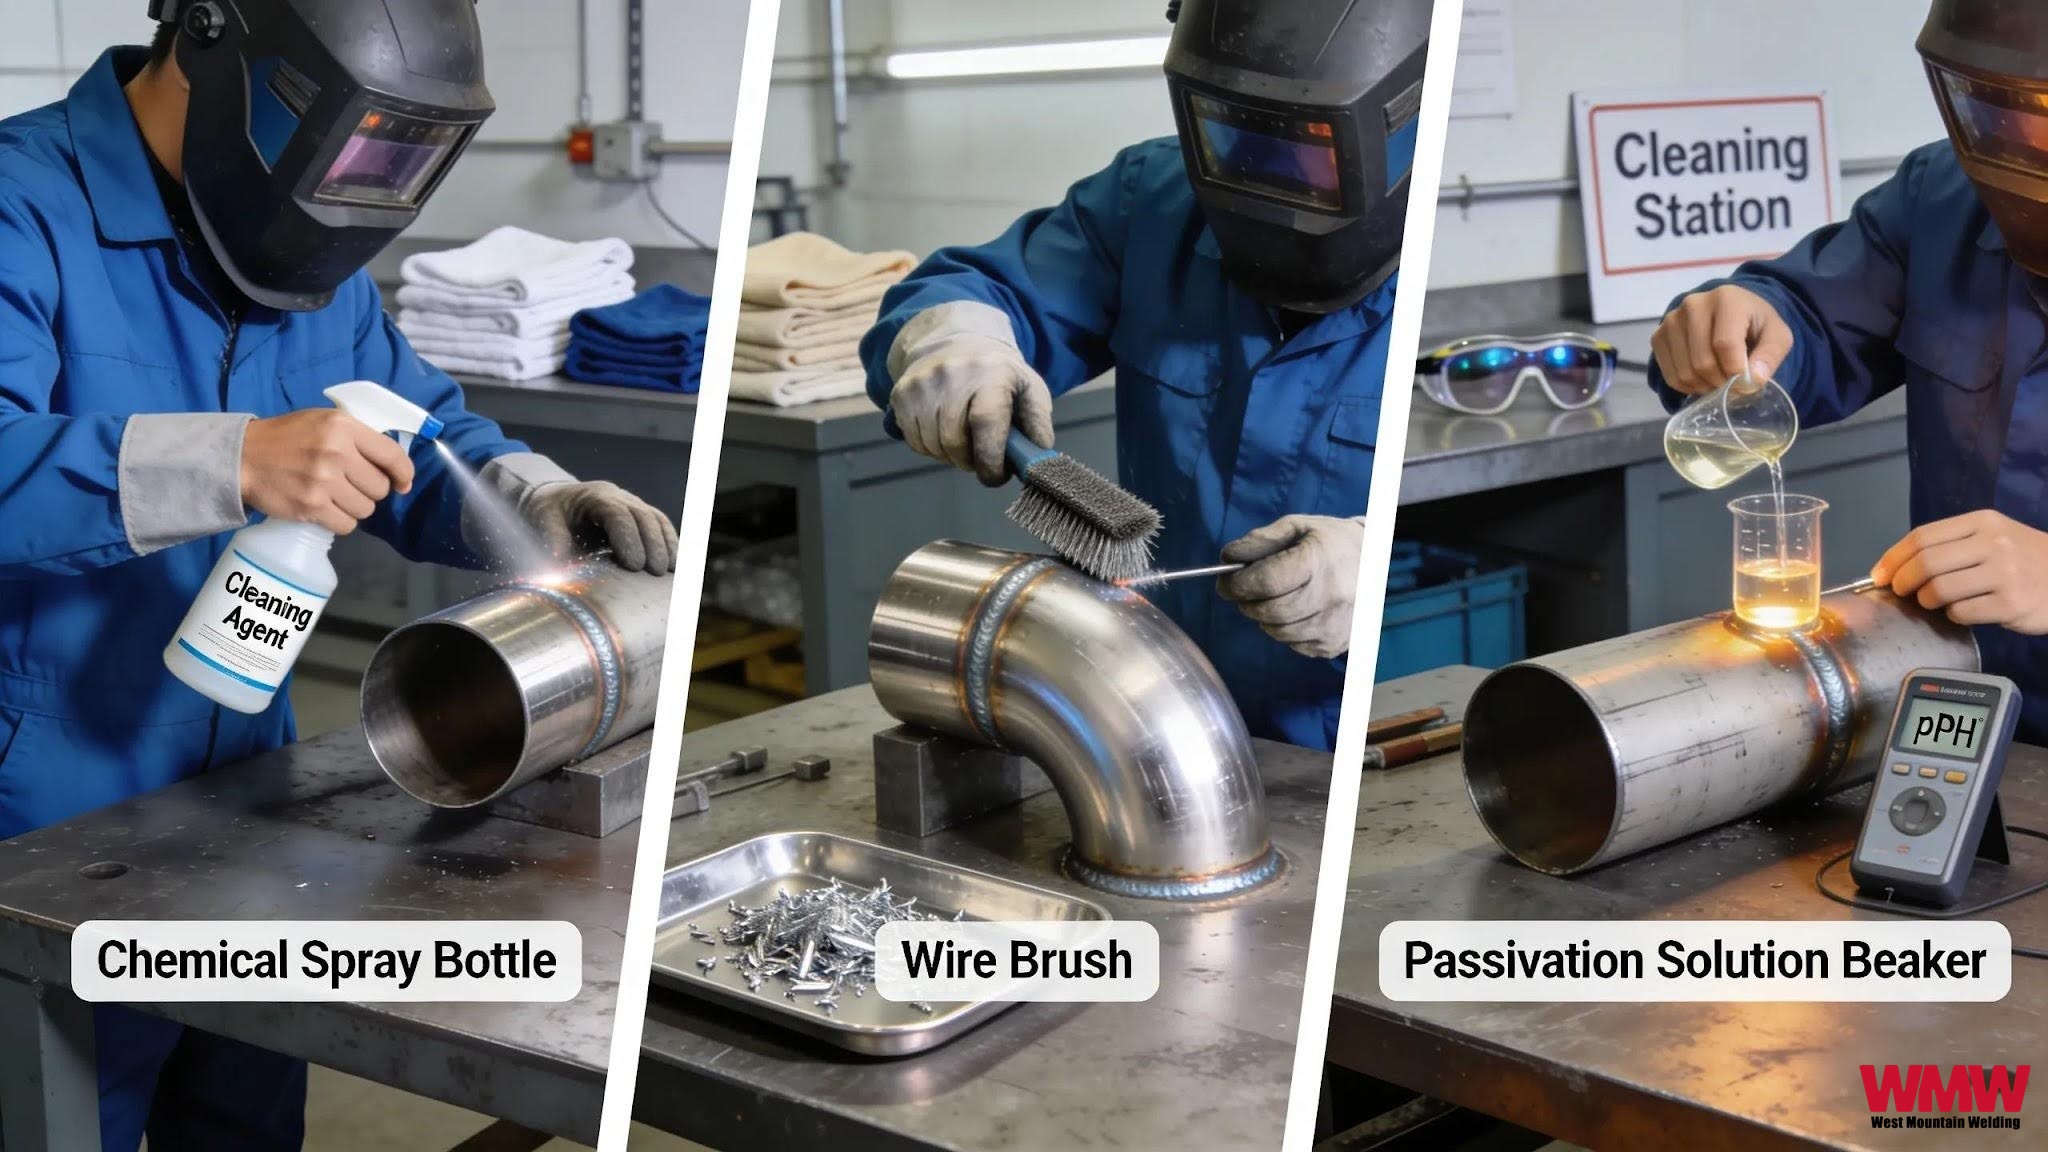
The weld isn't finished when you put down the torch. Post-weld treatment restores corrosion resistance and, depending on the application, meets surface finish requirements.
Three methods cover most post-weld scenarios:
Mechanical cleaning addresses light discoloration and heat tint. A stainless-specific wire brush or non-contaminating abrasive pad removes surface oxides; for heavier scale, flap discs or grinding wheels designed for stainless do the job, always using dedicated tooling.
Chemical cleaning and pickling goes further. Acid-based pickling pastes or sprays dissolve heat tint, weld scale, and the chromium-depleted layer underneath. These products require appropriate PPE, acid-resistant gloves, and eye protection, and should be applied strictly per the manufacturer's instructions.
Passivation is the final step. A nitric or citric acid solution promotes the formation of a stable chromium oxide passive layer, fully restoring corrosion resistance. In sanitary, chemical processing, or marine applications, passivation is often a specification requirement, not an optional finish.
Stainless Steel TIG Welding Tips for Pipe Work
Pipe welding adds another layer of complexity. Joint access, positional changes, and the need for full-penetration root passes all require an adjusted technique. Follow these steps to keep stainless pipe welds clean and code-compliant.
1. Prepare joint surfaces thoroughly. Degrease and wire brush all mating surfaces, including the inside of the pipe at the joint. Stainless has less forgiveness for poor fit-up than carbon steel, as heat builds up faster and can't simply be burned through. Confirm proper root gap and land dimensions before you strike an arc.
2. Set up an argon back purge before welding. Use tape to dam off the purge zone, introduce argon from one end, and let it flow through and out the other before starting. A simple oxygen indicator confirms adequate purge concentration. Skipping this step results in oxidation and sugaring on the root side that's nearly impossible to remediate.
3. Dial back amperage on the root pass. Running the lower end of your amperage range on the root gives you control and prevents burn-through. Once the joint builds mass through fill passes, you can increase amperage for the cap.
4. Manage interpass temperature between every pass. Allow the joint to cool before adding the next pass. Heat accumulation causes sensitization and distortion in stainless; many specifications cap interpass temperature at 350°F for austenitic grades.
Conclusion
Stainless steel TIG welding requires discipline. The difference between a clean, code-compliant weld and one that fails inspection almost always comes down to preparation, parameter control, and consistency, not talent alone. Get your equipment dialed in, protect the weld pool from contamination, and treat post-weld cleaning as part of the process rather than an afterthought. Apply these practices consistently, and the results will show up in every bead you lay.
Need reliable pipe welding for oil and gas applications? Learn more about our oil and gas pipe welding services and how we support demanding project requirements.
Frequently Asked Questions
1. What shielding gas is best for stainless steel TIG welding?
Pure argon at 15–20 CFH is the standard choice. It provides clean arc characteristics and effective atmospheric protection without introducing carbon or other contaminants.
2. How do I prevent warping when TIG welding stainless steel?
Use lower amperage, faster travel speed, and allow the material to cool between passes. Tacking the joint at close intervals before welding also helps control distortion.
3. What tungsten electrode should I use for stainless steel TIG?
2% ceriated or 2% lanthanated tungsten works well for DC stainless TIG welding. Both offer good arc stability and low contamination risk.
4. Why does my stainless steel weld turn blue or gold?
Heat tint discoloration is caused by oxidation at elevated temperatures, usually from inadequate shielding gas coverage or too-slow travel speed. It can be removed with pickling paste or a dedicated abrasive.
5. Do I need to back purge when TIG welding stainless steel pipe?
Yes. Without argon back purging, the inside of the root pass oxidizes and "sugars," creating a structurally compromised, porous surface that's extremely difficult to remediate.