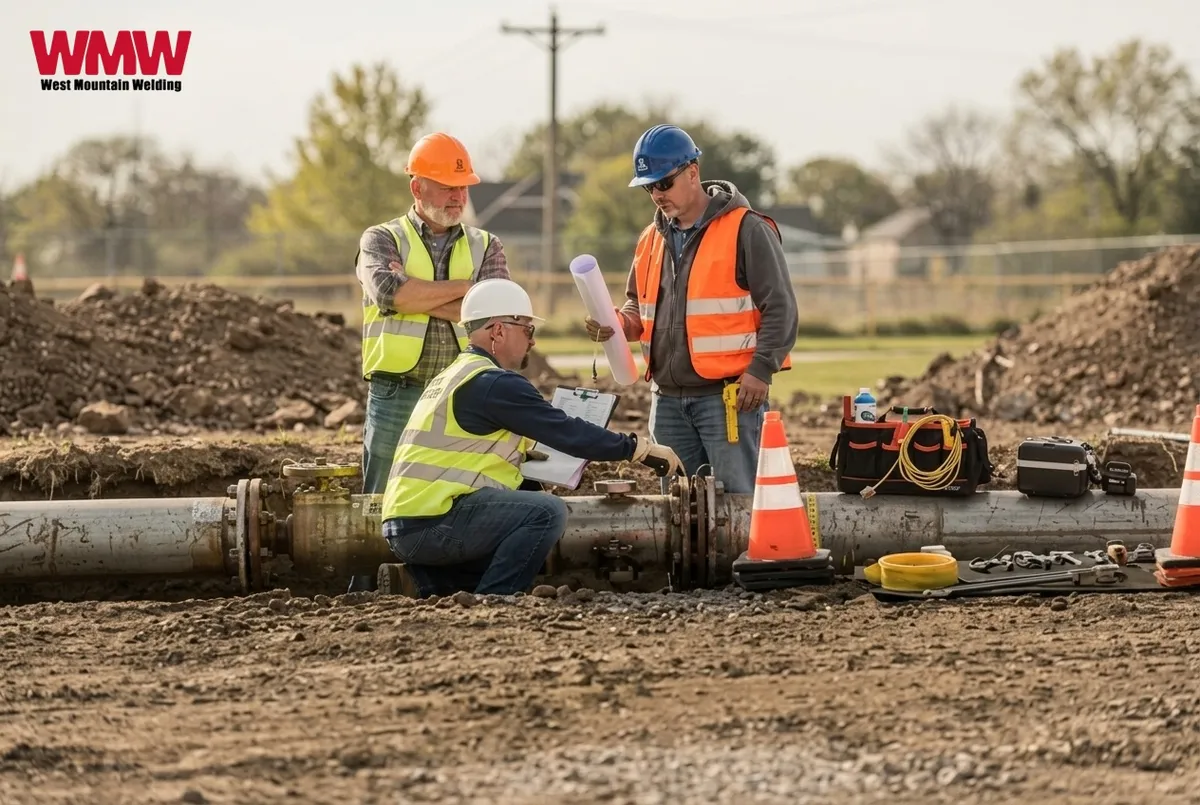
Oil Pipeline Leak Repair Steps: From Detection to Restoration
Oil pipeline leak repair follows five stages: detection, isolation, assessment, welded repair, and restoration testing. Crews isolate the damaged segment, evaluate wall thickness and defect type, weld to API 1104 standards, then confirm the fix with hydrostatic or radiographic testing before the line returns to full pressure. Skipping any stage risks a repeat failure.
We've walked onto enough active leak sites to know the sequence rarely goes exactly by the book; weather, access, or a line that won't fully depressurize all change the plan mid-job. What doesn't change is the order of operations below, which is what keeps a repair crew and the facility around them safe.
Key Takeaways
Pipeline leak repair follows five stages: detection, isolation, assessment, welded repair, and restoration testing.
Corrosion has historically caused roughly 18% of U.S. pipeline incidents, a share that climbed past 25% in 2024, according to an AMPP industry report.
Welders need current qualifications under ASME B31.1/B31.3, API 1104, and AWS D1.2 before touching a live system.
Most pipeline leak repair jobs isolate only the damaged segment rather than requiring a full system shutdown.
Post-repair hydrostatic or radiographic testing is the step that confirms a weld is ready to return to service.
What You Need Before a Pipeline Repair Begins
Four things determine if a pipeline repair holds up under pressure: qualified welders, a ready crew, current insurance, and a documented project plan. Skip any one of these, and you raise the odds of a failed repair, a missed inspection, or a shutdown that drags on longer than it should. Operators and EPC contractors vetting a repair partner should confirm all four before work starts.
Credentials a Pipeline Repair Crew Should Hold
Welders performing oil and gas pipeline repair work need to qualify to recognized codes before touching a live system, including:
ASME B31.1 and B31.3 for pressure piping
API 1104 for pipeline welding
AWS D1.2 for aluminum structures
West Mountain Welding fields certified welders who work to these standards on every job, with procedures and qualifications available for review on request. Ask for proof of certification and current insurance before a crew mobilizes; without active coverage, liability shifts onto the client the moment something goes wrong mid-repair.
Before scheduling pipeline repair services, gather:
Current drawings and specifications for the affected segment
Site access details and permitting requirements
A description of the damage or leak location
Confirmation of shutdown windows, if applicable
How a Pipeline Repair Project Actually Starts
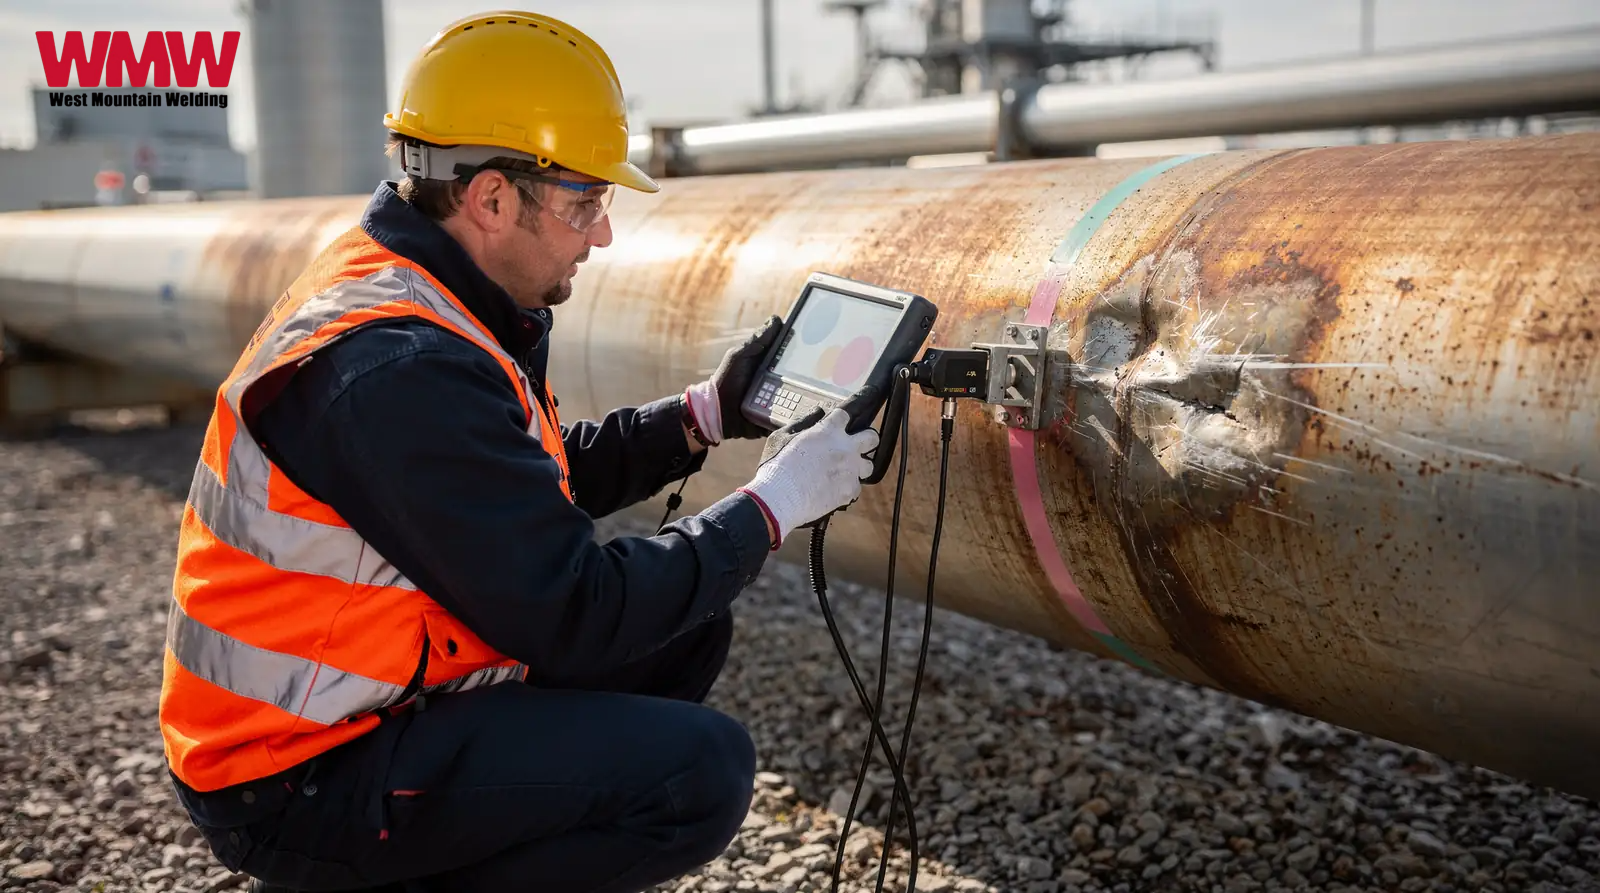
A compliant repair begins with a review of drawings and specifications, not a truck rolling to the site. That review lets the crew scope the job accurately and issue a defined quote and timeline.
From there, mobile field crews equipped for installation, repairs, shutdowns, and emergency response deploy with materials already staged, which cuts delays and avoids return trips for parts that should have shipped the first time.
The drawing review also catches problems a site walk can miss on its own, a spec'd wall thickness that no longer matches what's in the ground after years of corrosion, for example, or a fitting that was swapped out during an earlier repair and never updated on the as-builts. Catching that mismatch before crews mobilize saves a wasted trip and keeps the quoted timeline accurate.
Pipeline Leak Detection: Finding and Confirming the Failure
Confirming a pipeline leak starts with pinpointing the cause. The root cause dictates how fast a crew can respond and which repair method fits the damage. Treat pipeline leak detection as a disciplined process, not a single inspection. Operators who skip the diagnostic step risk misapplying a fix, which invites repeat failures and extended downtime.
What Typically Causes a Pipeline to Leak
Corrosion ranks among the most common culprits. Rust forms on internal or external surfaces, and chemical attack from transported fluids accelerates the damage in aging infrastructure. Corrosion has historically accounted for roughly 18% of reported U.S. pipeline incidents, and that share rose past 25% in 2024, per an AMPP industry report covered by Pipeline & Gas Journal. Facility owners should treat corrosion monitoring as a standing part of any oil pipeline maintenance program, not a reactive step taken after a failure.
Detecting and confirming a leak generally follows this sequence:
Review operating history. Pull maintenance records and prior inspection data to flag sections with known corrosion risk or age-related wear.
Inspect suspect segments. Examine pipe walls, fittings, and welds for visible rust, pitting, or chemical scarring.
Verify the failure point. Narrow the search to the exact location before mobilizing crews or ordering materials.
Document root cause. Record if corrosion, mechanical stress, or another factor triggered the leak, since this shapes the repair plan.
Deploy response crews. Send trained welders equipped to evaluate the site and begin pipeline repair services immediately.
Speed depends as much on crew readiness as on detection accuracy. Mobile field crews outfitted for installation, repairs, and emergency response let a confirmed leak indication move straight into action, which shortens the gap between diagnosis and containment.
Isolating and Assessing Pipeline Damage
Isolation comes before any tool touches the pipe. Crews shut down flow, depressurize the line, and confirm zero pressure before assessment begins; a pressurized line turns a routine mistake into a catastrophic one. Depressurizing doesn't remove all risk, either: flammable vapors can linger inside or around the pipe, and a stray spark near that vapor is a real fire hazard. That's why vapor testing happens before crews clear the area for hands-on work, every time, no exceptions.
What happens during isolation and assessment:
Shut off flow at the nearest valves upstream and downstream of the damaged section.
Depressurize the line fully and verify with gauges before proceeding.
Test for flammable vapors to rule out ignition hazards near the repair zone.
Inspect the damage to determine depth, length, and cause of the failure.
Classify the repair type needed based on damage severity and pipeline material.
Facility owners rarely handle isolation alone. Outage support and urgent repair work call for crews who integrate directly with operators during isolation and assessment, coordinating within existing shutdown procedures rather than working around them. Skipping a step here doesn't save time; it creates exposure to fire, injury, and the kind of failure that shuts a facility down far longer than a planned repair ever would.
Oil Pipeline Leak Repair Steps From Detection to Restoration
Restoring a damaged line follows a defined sequence: isolate, assess, weld, verify, return to service. Modern oil pipeline repair methods restore integrity fast, often without a costly full shutdown, and understanding the sequence lets facility owners plan outages with confidence instead of guesswork.
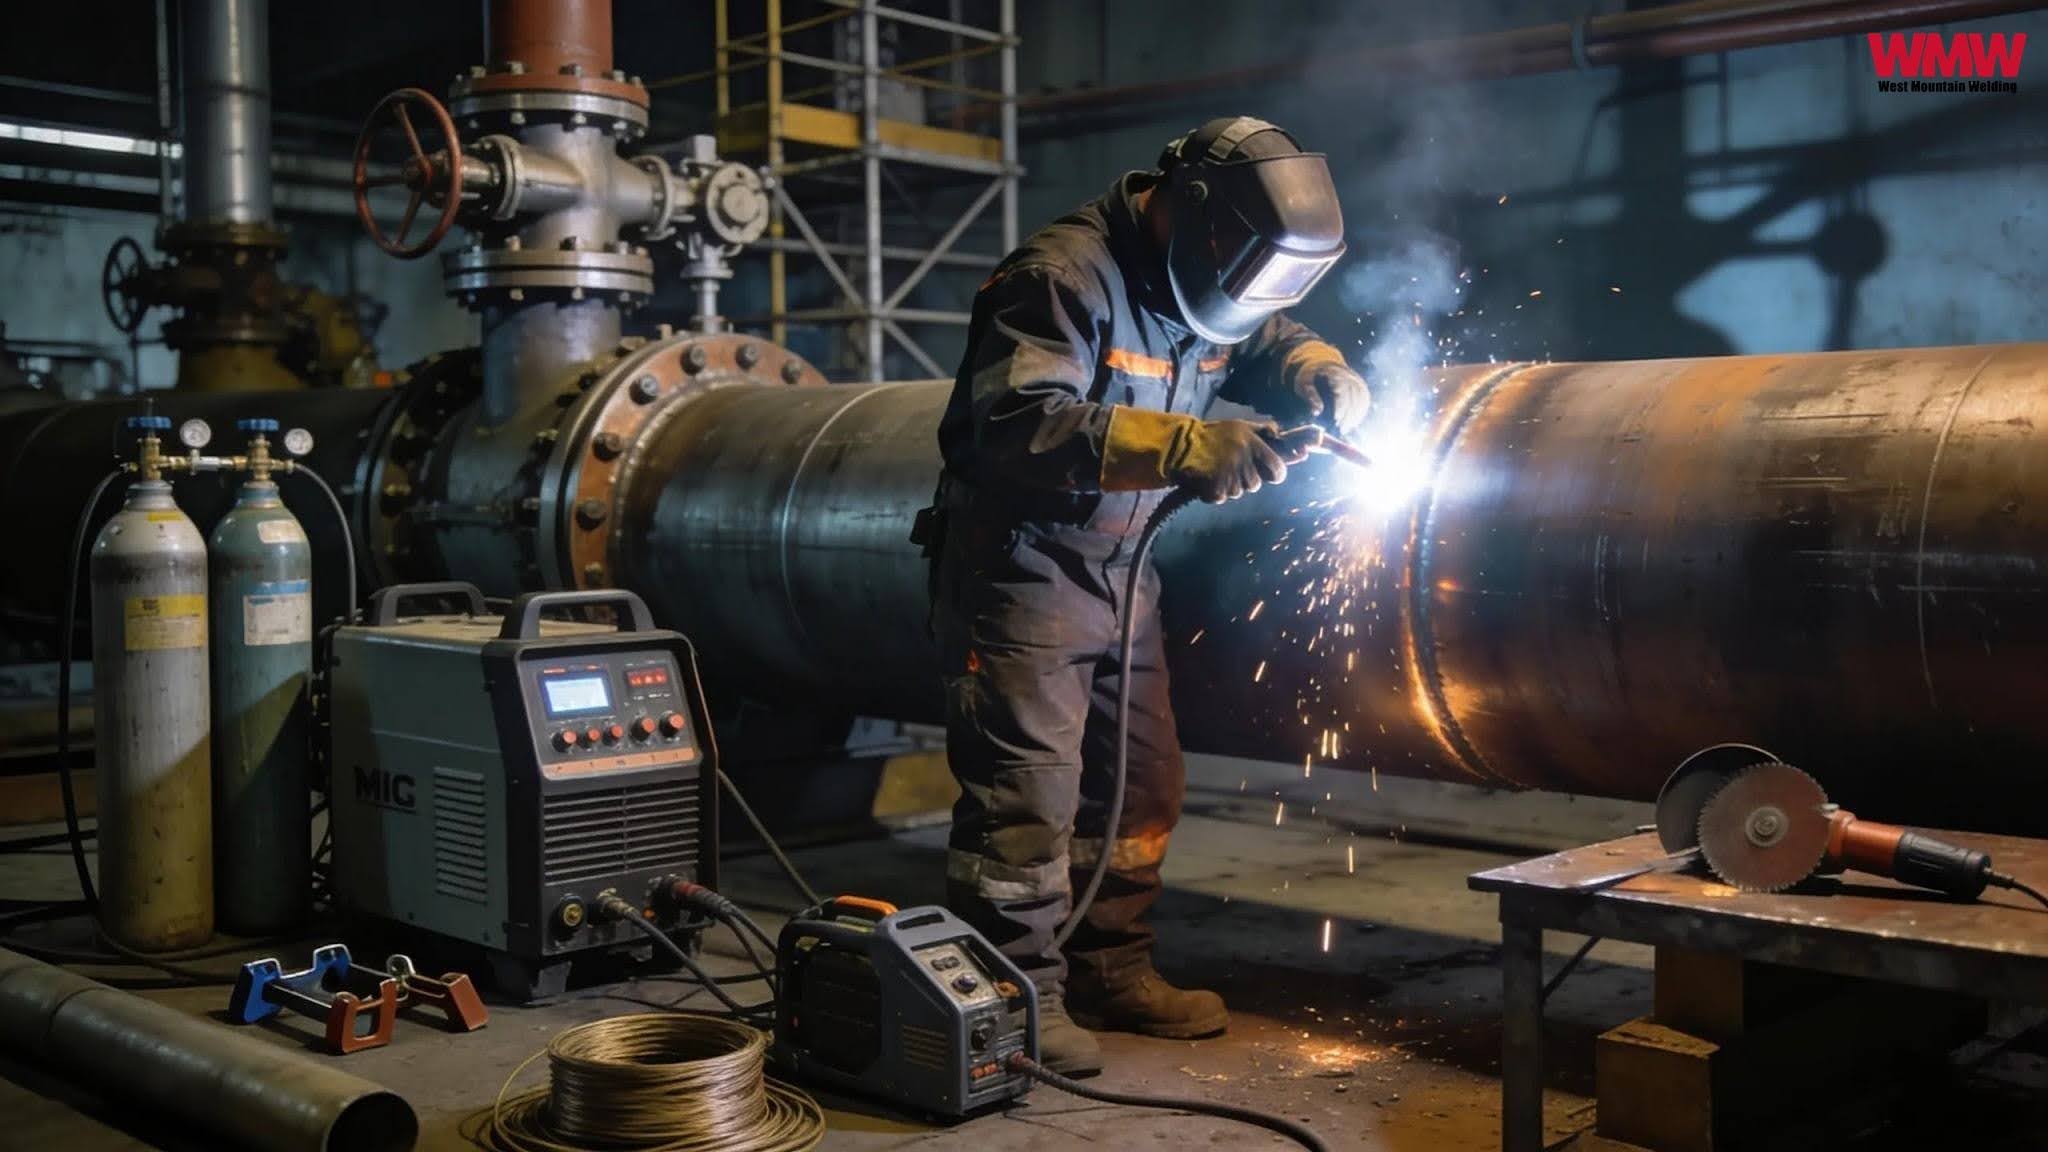
Isolate the section. Crews depressurize and lock out the damaged segment before any hot work begins.
Assess the damage. Certified welders inspect wall thickness, weld seams, and corrosion patterns to determine repair scope.
Execute the weld. Technicians perform oil and gas pipeline repair work to ASME B31.1/B31.3, API 1104, and AWS D1.2 codes, the same standards that govern new construction.
Fabricate and tag replacement spools. Prefabricated piping arrives tagged to drawings, which speeds installation and cuts guesswork in the field.
Verify and return to service. Crews test the repaired section before repressurizing and handing the line back to operations.
In our experience, step three is where a repair actually earns its integrity rating. A technically sound weld that skips proper preheat or interpass temperature control can pass a visual check and still fail testing weeks later. That's the difference a certified crew makes over a cheaper, uncertified one.
Does Pipeline Repair Require a Full Shutdown?
Not always. Most pipeline leak repair jobs isolate only the damaged segment, keeping the rest of the system operational. Full shutdowns become necessary mainly when damage sits near a critical junction or when a regulatory inspection demands a broader review.
What Makes a Repair Crew Ready for Emergency Response
Speed matters as much as skill during an active leak. Fast mobilization paired with disciplined quality control is the difference between a same-week fix and a prolonged outage. Crews that already carry qualified welders, staged materials, and a documented process don't lose days assembling a plan after the call comes in; they execute one. That readiness isn't something a crew builds on the day of the call; it comes from running the same isolate-assess-weld-verify sequence often enough that no step gets skipped under pressure, literal or otherwise.
This isolate-assess-weld-verify approach shapes every pipeline repair services engagement West Mountain Welding takes on, drawing on field experience across power generation, industrial, and pipeline projects.
FAQ
What are the five stages of oil pipeline leak repair?
The five stages are detection, isolation, assessment, welded repair, and restoration testing, with certified crews confirming the fix through hydrostatic or radiographic testing before the line returns to service.
What credentials should a pipeline repair crew hold?
Welders should qualify under ASME B31.1/B31.3 for pressure piping, API 1104 for pipeline welding, and AWS D1.2 for aluminum structures, with current insurance and proof of certification available on request.
What confirms a pipeline repair is ready to return to service?
Post-repair hydrostatic or radiographic testing validates the weld's structural strength and confirms the pipeline can operate at full capacity before it's returned to service.
What's the most common cause of oil pipeline leaks?
Corrosion is among the leading causes of pipeline leaks, historically responsible for roughly 18% of reported U.S. incidents, with internal and external corrosion accelerated by chemical attack from transported fluids.
Does a pipeline leak always require a full system shutdown to repair?
No. Most oil pipeline leak repair jobs isolate only the damaged segment, and a full shutdown is typically reserved for damage near a critical junction or when inspectors require a broader system review.